
What to Expect When Working With a Web Designer: A Step-by-Step Guide
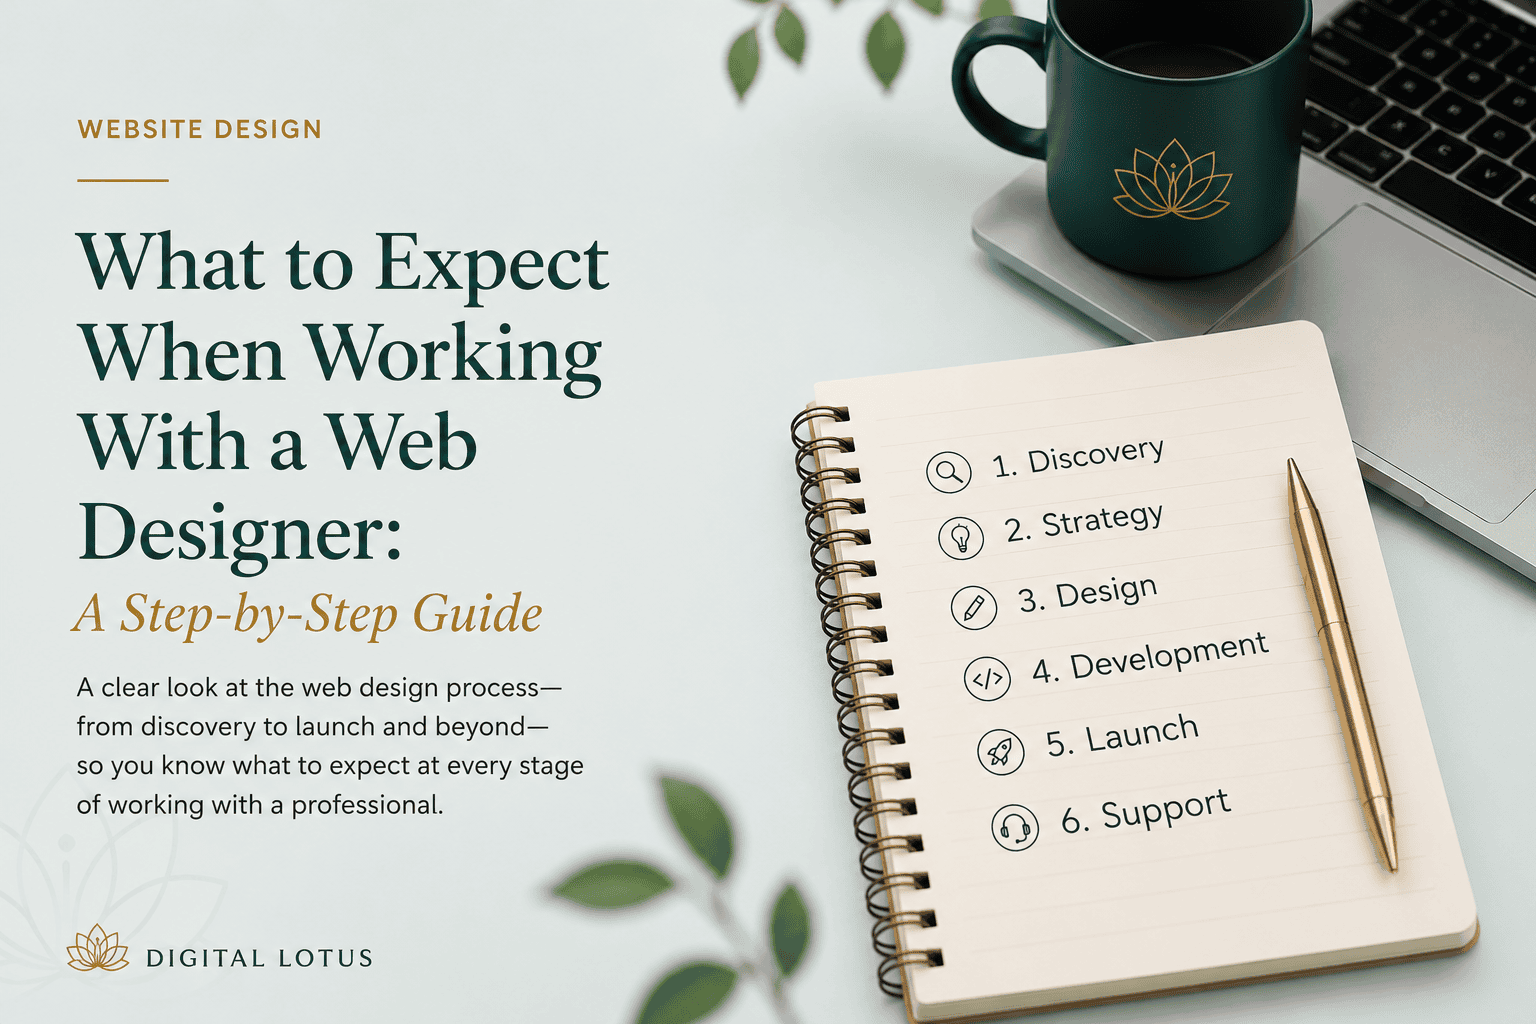
Hiring a web designer for the first time, or after a bad previous experience, comes with a reasonable amount of uncertainty. What needs to be prepared? How long will it take? What happens if the first designs miss the mark? This guide walks through the typical process from first contact to launch.
Step 1: The discovery call or briefing session
Most designers start with a conversation before quoting. This is where they ask about the business, the audience, what the site needs to do, and what the timeline and budget look like. It is also where the client should be asking their own questions.
What to have ready: a clear description of the business and who the clients are, examples of websites that feel right and what specifically works about them, a rough sense of how many pages are needed, and any existing brand assets such as logo files, colour codes, and fonts if known.
If a designer quotes without asking any of these questions, that is an early warning sign. A quote without a brief is a guess.
Step 2: The proposal and quote
After the discovery session, the designer comes back with a written proposal. This should outline the scope of work, the timeline, the number of revision rounds included, payment terms, and the total cost.
Read it carefully. Specifically check what happens if the project runs over the agreed timeline, who owns the domain and hosting account at the end, what the process is for changes needed after launch, and whether the original files are handed over on completion. A clear proposal prevents most disputes. If anything is vague, ask for clarification in writing before signing.
Step 3: The design phase
Once the project is confirmed and a deposit is paid, most designers start with a sitemap or wireframe: a structural plan of the site before any visual design begins. This is the stage to flag structural concerns because changes at this point are fast and cheap. Restructuring the layout after the visual design is completed is neither.
The visual design typically follows, starting with the homepage. Colours, typography, and the overall look and feel are established here. Once the homepage direction is approved, the rest of the site is designed in the same style. Getting homepage approval right the first time is worth taking seriously.
Step 4: Revisions
Most projects include two to three rounds of revisions. A revision round means reviewing a stage of work and providing clear, consolidated feedback, not an ongoing back-and-forth over days. The cleaner and more specific the feedback, the faster this stage moves.
The most common cause of projects running over time and over budget is unclear or contradictory feedback, or a change of direction mid-project. If something feels off but the specific change is not clear, describe the feeling rather than prescribing a fix. “This feels too corporate for our audience” is more useful to a designer than “change the font and make the green darker.”
Where possible, consolidate all feedback into a single document or message per round. Feedback that arrives in five separate emails across three days slows everyone down.
Step 5: Development
Once the design is approved, the site is built. Depending on the platform, such as WordPress, Webflow, or Shopify, development can take anywhere from a few days to several weeks. Content needs to be ready at this point, or at least in draft form. A placeholder note saying “content coming soon” delays a build more than almost any technical problem.
The most important thing the client can do during this stage is respond promptly to any clarifying questions and have content ready when it is requested.
Step 6: Review and testing
Before launch, the designer tests the site across devices and browsers. The client’s job in this stage is to go through every page as a first-time visitor would: check that all links work, all forms submit and return a confirmation, images look correct on a mobile screen, and all written content is accurate.
This is not the stage for significant design changes. It is a functionality and accuracy check. Requesting a layout overhaul at this point is scope creep, and it will likely be quoted as additional work.
Step 7: Launch and handover
The site goes live. A professional handover includes CMS login credentials, basic instructions for updating content independently, all original design files, and confirmation that the domain and hosting are accessible by the client directly.
If the domain is registered in the designer’s name, or the hosting account only the designer can access, resolve this before final payment is made. The client should be able to hand the site to a different developer in future without needing the original designer’s involvement.
What good communication looks like throughout
Both parties respond within one business day. Feedback is specific and arrives in one consolidated message per round. Decisions are made by one person on the client side. Multiple stakeholders with conflicting opinions slow every stage down and increase cost. Problems are flagged early, before they become expensive.
Most web projects that go badly have a communication breakdown somewhere in the middle, not a technical failure. The process is straightforward when expectations on both sides are clear from the start.